Monday, November 21, 2011

Multi-use Mini pumpkins

When fall comes around I love to buy mini pumpkins as an accent around the house. Normally I just let them sit in a designated spot and throw them out once Christmas decorating comes.
But, not this year. I am going to share 2 FUNctional and simple ways to dress up these cute little guys for your Thanksgiving dinner.

First lets work on the Pumpkin Place Card Holder.
All you need is the following:
-Mini Pumpkin
-Knife
-Place Card (card stock cut to size)


Simply carefully make a small slice in the stem of the pumpkin with the knife

Put the place card in the slice
Then... your DONE! 
I told you it was simple :)


Next the Pumpkin Tea-light Candle Holder.
You will need the following:
-Mini Pumpkin
-Knife
-Tea-Light Candle

Use your tea-light candle to make a measurement on how wide to 
cut your circle at the top of the pumpkin.
Next, cut out the circle and clean out the pumpkin.

Last, place your candle in the space.

Super easy ideas that look great!


If you have not already, 
make sure you follow--->

God Bless <3

Monday, November 14, 2011

*Mama's Kitchen* Take 5: Turkey...Oh, the possibilities!

Pin It

Ready for the final Take on our Turkey? Okay, so I am running a little behind...what can I say, this is the life of a Professional Mama. Plus, we were too busy eating our new favorite sandwich!

When we last saw each other we were on "Take 4: Turkey...Oh, the possibilities!".
As a quick review we have seen our Turkey in these four meals:


...and now we have our Turkey starring in the infamous Turkey Sandwich! But, this is not your everyday drab Turkey Sandwich it is the Bar B Q Turkey Sandwich...yumm-o-!

Ingredients you will need:
- 1 lb of Turkey (leftovers!)
- 2 tbsp of oil
- 4 bread rolls (your preference)
- 1/2 cup of BBQ sauce
-1/2 chopped onion

First saute your onions in a pan with the oil.
Then add in the turkey and the bbq sauce.

Heat your buns in the oven for a few minutes 
and stuff with your turkey!
Vola...your done!
Super easy and super tasty!
Now you know what to do with all those turkey leftovers you will have after Thanksgiving!


Thank you for joining me in my first series event! It was fun :)
See you soon!


Friday, November 11, 2011

*Mama's Kitchen* Take 4: Turkey...Oh, the possibilities!

Pin It

Burrr! A welcomed cold front has finally hit Central Florida helping it feel a little more like Fall! I love the changing of the seasons and enjoy the comfort foods that go along with it.
Tonight is Take 4 on our turkey and it fits the season perfectly, Turkey & Rice Stew.

Ingredients:
- 1 lb of shredded cooked turkey (still leftovers!)
- 4 cups of vegetable broth
- 2 cups of water
- 1 cup diced carrots
- 1 cup diced celery
- 1 box Rice a Roni Long Grain & Wild Rice
- 1/2 cup butter
- 3/4 cup flour
- 2 cups of half & half
- 1 tbsp salt
- 1 tbsp pepper

First, in a large pot stir in the turkey with the broth, water, carrots, celery, and Rice a Roni (seasoning as well).
Boil for about 30-40 minutes.

 Mix the flour with the salt and pepper.

In a sauce pan, melt the butter on medium heat and slowly add the flour mixture followed by slowly adding the half & half.

 Finally, add the contents of the sauce pan into the larger pot and simmer for about 10-15 mintues.

Enjoy! Happy Veteran's Day!
Stay Warm :)

Stay tuned for the Final Take Tomorrow!

Thursday, November 10, 2011

*Mama's Kitchen* Take 3: Turkey...Oh, the possibilities!

Pin It

Take 3...Action! This next recipe is a family favorite and a big hit with the kiddos.
In case you came in on the middle of this series, I am working on making 5 very different meals from one turkey. Meals that hopefully you can use with Turkey Day fast approaching.
I am really loving the ease of these dinners without the hassle of defrosting meat and then cooking it before adding it to a recipe!
With that said, we are ready from some good ole' Turkey Pot Pie :P

Ingredients needed:
- 1 lb of turkey (leftovers!)
- 1 can Cream of Chicken
- 1 large potato chopped
- 3/4 Cup carrots chopped
- 1/2 Cup of celery chopped
- 1 package of 2 frozen pie crust (this can be homemade, but I like shortcuts!) 

First, boil your vegetable mixture for about 20 minutes (until your carrot can be cut with a fork) then drain all the water out.

Next, add the turkey and cream of chicken to the pot and mix it with some salt and pepper.

Preheat your oven to 350 degrees F.
Now spread your mixture into one of the frozen pie crust.

Using the remaining pie crust, cover your mixture and seal the crust.
(You can use cookie cutters to place a design on the top with some extra dough....
according to my little ones, it was either a star or a train for this one)

Now place your pie on a cookie sheet on bake for about 20 minutes 
or until your crust turns golden brown.

Serve Warm
Enjoy!

See you tomorrow!

Wednesday, November 9, 2011

*Mama's Kitchen* Take 2: Turkey...Oh the possibilities!

Pin It

Tonight's Take on turkey has spice to it! Living in Florida leaves me feeling homesick for the Southwest, but this dish can somehow make me feel all better. Red Chili Enchiladas...***mouth watering***

This is a simple dish to make so don't be intimidated by the chili pods, just follow my directions and you will be have real homemade Mexican food in no time! You should also have no trouble finding the pods at your local store in the "Ethnic" isle.

Ingredients you will need:

- 1 lb of Turkey (our left overs)
- 9 to 12 Mild/Hot Red Chili Pods
- 1 Tbsp of Flour
- 1 Tbsp of Oil (I love olive oil)
- 1/4 cup of onions (green/white) *optional
- 2 Cups of Shredded Cheddar Cheese
- 12 Corn Tortillas
                           - Garlic Salt

First, remove the stems from your chili pods and wash all the seeds out. 
Place them in boiling water for 30-45 minutes.
(Note: Open your windows if you got hot pods....hehehe)

 Cover the bottom of your 9x9 pan with quartered tortilla pieces.

Once your pods are boiled place them in a blender with 1/4 cup of the water used to boil them.
Blend until completely liquefied.
(Note: get your strainer ready)

In a pan, mix your oil and flour until the flour is browned.
(Note: this happens very quickly)

Now, strain your chili into the pan with the flour and oil and mix in some garlic salt for flavor.

Now your chili is complete.
Add your turkey into the chili mixture.

Preheat your oven to 350 degrees F.

Now, the fun part! 
Layer your ingredients until you run out.
Tortillas, Turkey Chili, Onions, Cheese 
*repeat*

Now cover you pan with foil and bake for about 30 minutes 
or until your cheese is completely melted.

 Serve warm! 
***Y U M M Y***

Tune in tomorrow for Take 3: Turkey...Oh, the possibilities!

Tuesday, November 8, 2011

*Mama's Kitchen* Take 1: Turkey...Oh, the possibilities!

No matter how much I love to procrastinate on my household duties, there is one task that I have found impossible to avoid daily...dinner. So I am always looking for quick, easy, and nutritional options that i can serve up.

After a trick-or-treat chat with other parents I have decided to dedicate the next 5 nights of dinner to one turkey. The most inspirational aspect of this task is the low price on turkeys considering the season, the least expensive ad I found is at Aldi, .79 cents/lb on a Butterball (Can we say "PRICE MATCH").

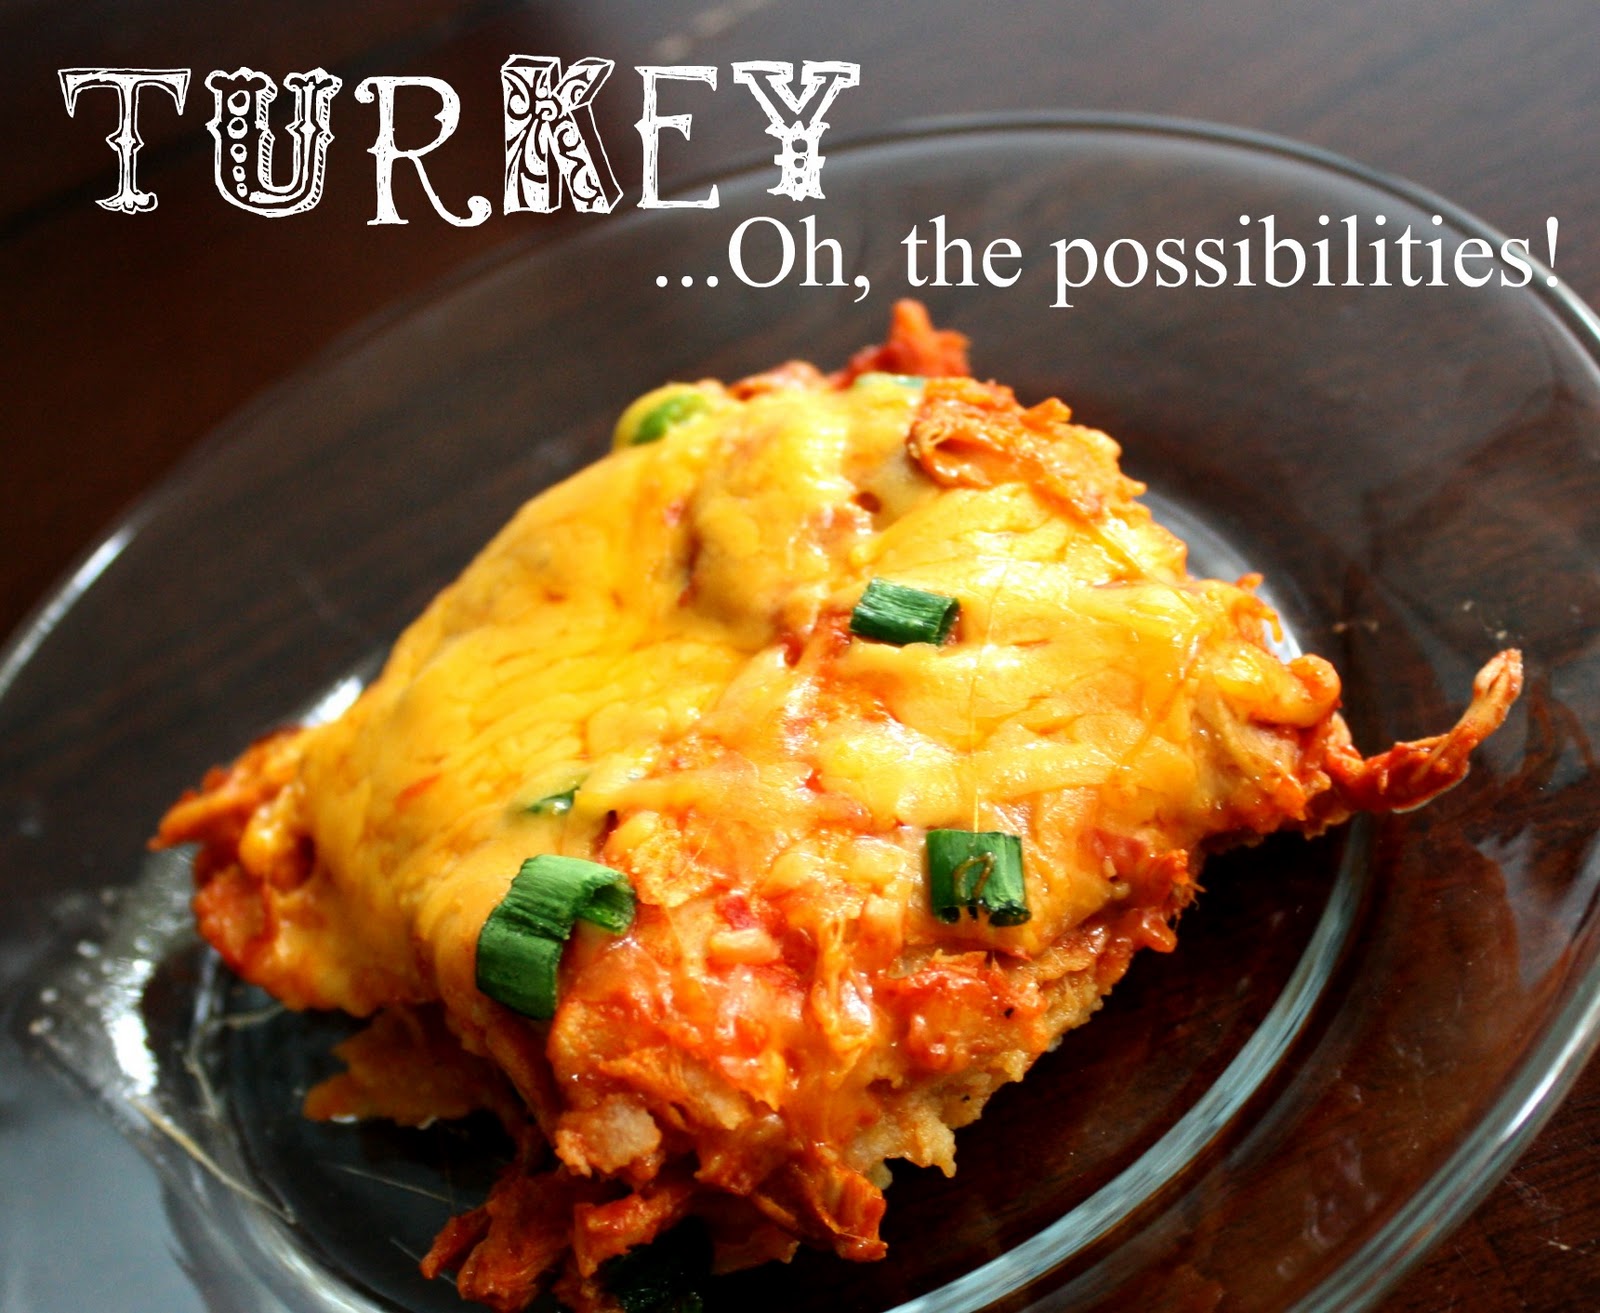
Tonight's dinner is all about the classic Turkey Day dinner with a few of the fixings.
I have a very simple recipe that my mom uses that is fool-proof!


You will need the following:

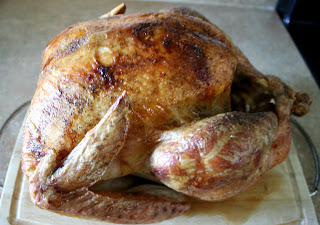
  • 1 whole Turkey (I bought a 16 lb)
  • 1/2 cup of butter
  • Salt
  • Pepper
  • 1 whole onion
  • 2 or 1 cloves of garlic
First, defrost your turkey (this turkey took 3 days in the fridge!)

Wash the turkey and make sure you take out the neck and the giblets :/

Pat the turkey dry with paper towels.

Preheat the oven to 325 degrees F. 

Now place your turkey breast-side up on a pan.

Make 10-12 small slits around the turkey skin to fit small amounts of butter.

Rub any excess butter around the turkey then follow with salt and pepper.

Thickly slice the onion and garlic and place both into the cavity of the turkey.

Next, tuck in the legs and any other lose areas and place the turkey on the roasting rack.

Place the turkey in the preheated oven for about 2 1/2 hours.

Then loosely place a small about of foil over the top of the turkey for the next 1 1/2 hours.


***If the turkey is not handled correctly it can carry harmful bacteria***
Please refer to this website to make sure you and your family are safe.

Once you have checked the internal temperature of your turkey (a minimum of 165 degrees F) your turkey is complete!


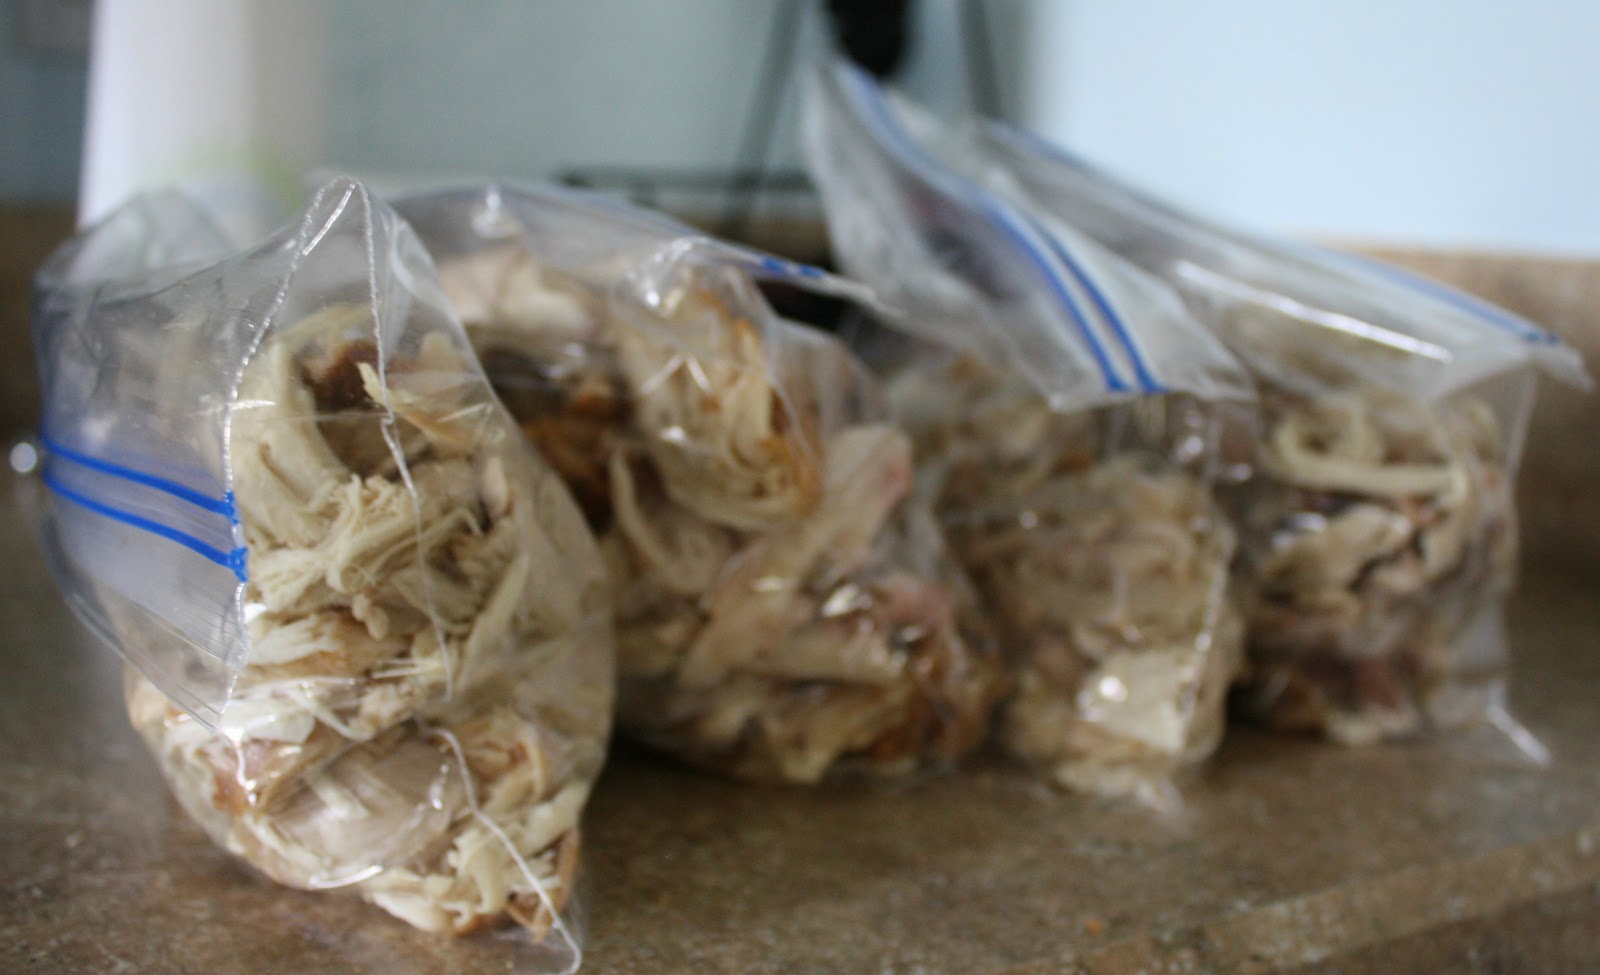
Make sure you store any leftover turkey for your next dinner :)


See you tomorrow for some Mexican!