Friday, November 11, 2011

*Mama's Kitchen* Take 4: Turkey...Oh, the possibilities!

Pin It

Burrr! A welcomed cold front has finally hit Central Florida helping it feel a little more like Fall! I love the changing of the seasons and enjoy the comfort foods that go along with it.
Tonight is Take 4 on our turkey and it fits the season perfectly, Turkey & Rice Stew.

Ingredients:
- 1 lb of shredded cooked turkey (still leftovers!)
- 4 cups of vegetable broth
- 2 cups of water
- 1 cup diced carrots
- 1 cup diced celery
- 1 box Rice a Roni Long Grain & Wild Rice
- 1/2 cup butter
- 3/4 cup flour
- 2 cups of half & half
- 1 tbsp salt
- 1 tbsp pepper

First, in a large pot stir in the turkey with the broth, water, carrots, celery, and Rice a Roni (seasoning as well).
Boil for about 30-40 minutes.

 Mix the flour with the salt and pepper.

In a sauce pan, melt the butter on medium heat and slowly add the flour mixture followed by slowly adding the half & half.

 Finally, add the contents of the sauce pan into the larger pot and simmer for about 10-15 mintues.

Enjoy! Happy Veteran's Day!
Stay Warm :)

Stay tuned for the Final Take Tomorrow!

Thursday, November 10, 2011

*Mama's Kitchen* Take 3: Turkey...Oh, the possibilities!

Pin It

Take 3...Action! This next recipe is a family favorite and a big hit with the kiddos.
In case you came in on the middle of this series, I am working on making 5 very different meals from one turkey. Meals that hopefully you can use with Turkey Day fast approaching.
I am really loving the ease of these dinners without the hassle of defrosting meat and then cooking it before adding it to a recipe!
With that said, we are ready from some good ole' Turkey Pot Pie :P

Ingredients needed:
- 1 lb of turkey (leftovers!)
- 1 can Cream of Chicken
- 1 large potato chopped
- 3/4 Cup carrots chopped
- 1/2 Cup of celery chopped
- 1 package of 2 frozen pie crust (this can be homemade, but I like shortcuts!) 

First, boil your vegetable mixture for about 20 minutes (until your carrot can be cut with a fork) then drain all the water out.

Next, add the turkey and cream of chicken to the pot and mix it with some salt and pepper.

Preheat your oven to 350 degrees F.
Now spread your mixture into one of the frozen pie crust.

Using the remaining pie crust, cover your mixture and seal the crust.
(You can use cookie cutters to place a design on the top with some extra dough....
according to my little ones, it was either a star or a train for this one)

Now place your pie on a cookie sheet on bake for about 20 minutes 
or until your crust turns golden brown.

Serve Warm
Enjoy!

See you tomorrow!

Wednesday, November 9, 2011

*Mama's Kitchen* Take 2: Turkey...Oh the possibilities!

Pin It

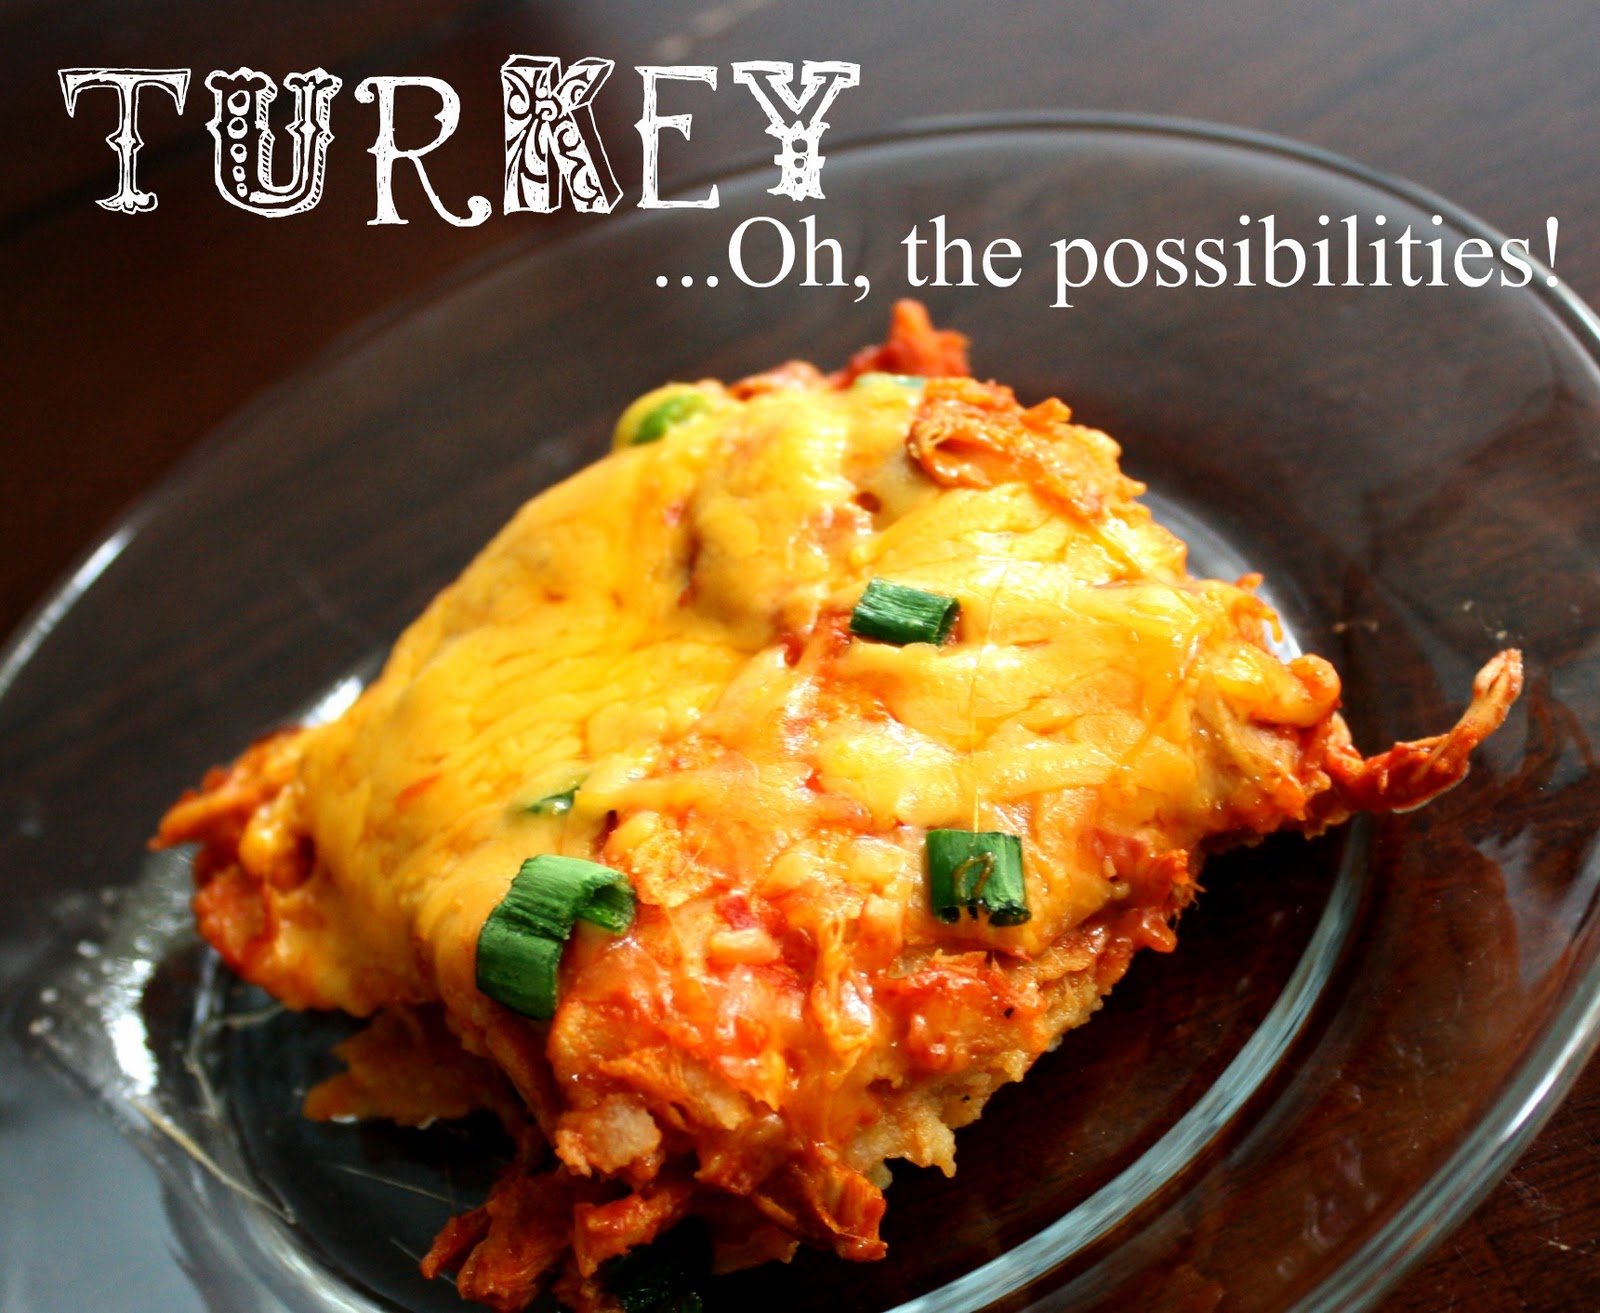
Tonight's Take on turkey has spice to it! Living in Florida leaves me feeling homesick for the Southwest, but this dish can somehow make me feel all better. Red Chili Enchiladas...***mouth watering***

This is a simple dish to make so don't be intimidated by the chili pods, just follow my directions and you will be have real homemade Mexican food in no time! You should also have no trouble finding the pods at your local store in the "Ethnic" isle.

Ingredients you will need:

- 1 lb of Turkey (our left overs)
- 9 to 12 Mild/Hot Red Chili Pods
- 1 Tbsp of Flour
- 1 Tbsp of Oil (I love olive oil)
- 1/4 cup of onions (green/white) *optional
- 2 Cups of Shredded Cheddar Cheese
- 12 Corn Tortillas
                           - Garlic Salt

First, remove the stems from your chili pods and wash all the seeds out. 
Place them in boiling water for 30-45 minutes.
(Note: Open your windows if you got hot pods....hehehe)

 Cover the bottom of your 9x9 pan with quartered tortilla pieces.

Once your pods are boiled place them in a blender with 1/4 cup of the water used to boil them.
Blend until completely liquefied.
(Note: get your strainer ready)

In a pan, mix your oil and flour until the flour is browned.
(Note: this happens very quickly)

Now, strain your chili into the pan with the flour and oil and mix in some garlic salt for flavor.

Now your chili is complete.
Add your turkey into the chili mixture.

Preheat your oven to 350 degrees F.

Now, the fun part! 
Layer your ingredients until you run out.
Tortillas, Turkey Chili, Onions, Cheese 
*repeat*

Now cover you pan with foil and bake for about 30 minutes 
or until your cheese is completely melted.

 Serve warm! 
***Y U M M Y***

Tune in tomorrow for Take 3: Turkey...Oh, the possibilities!

Tuesday, November 8, 2011

*Mama's Kitchen* Take 1: Turkey...Oh, the possibilities!

No matter how much I love to procrastinate on my household duties, there is one task that I have found impossible to avoid daily...dinner. So I am always looking for quick, easy, and nutritional options that i can serve up.

After a trick-or-treat chat with other parents I have decided to dedicate the next 5 nights of dinner to one turkey. The most inspirational aspect of this task is the low price on turkeys considering the season, the least expensive ad I found is at Aldi, .79 cents/lb on a Butterball (Can we say "PRICE MATCH").

Tonight's dinner is all about the classic Turkey Day dinner with a few of the fixings.
I have a very simple recipe that my mom uses that is fool-proof!


You will need the following:

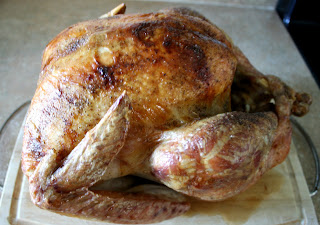
  • 1 whole Turkey (I bought a 16 lb)
  • 1/2 cup of butter
  • Salt
  • Pepper
  • 1 whole onion
  • 2 or 1 cloves of garlic
First, defrost your turkey (this turkey took 3 days in the fridge!)

Wash the turkey and make sure you take out the neck and the giblets :/

Pat the turkey dry with paper towels.

Preheat the oven to 325 degrees F. 

Now place your turkey breast-side up on a pan.

Make 10-12 small slits around the turkey skin to fit small amounts of butter.

Rub any excess butter around the turkey then follow with salt and pepper.

Thickly slice the onion and garlic and place both into the cavity of the turkey.

Next, tuck in the legs and any other lose areas and place the turkey on the roasting rack.

Place the turkey in the preheated oven for about 2 1/2 hours.

Then loosely place a small about of foil over the top of the turkey for the next 1 1/2 hours.


***If the turkey is not handled correctly it can carry harmful bacteria***
Please refer to this website to make sure you and your family are safe.

Once you have checked the internal temperature of your turkey (a minimum of 165 degrees F) your turkey is complete!


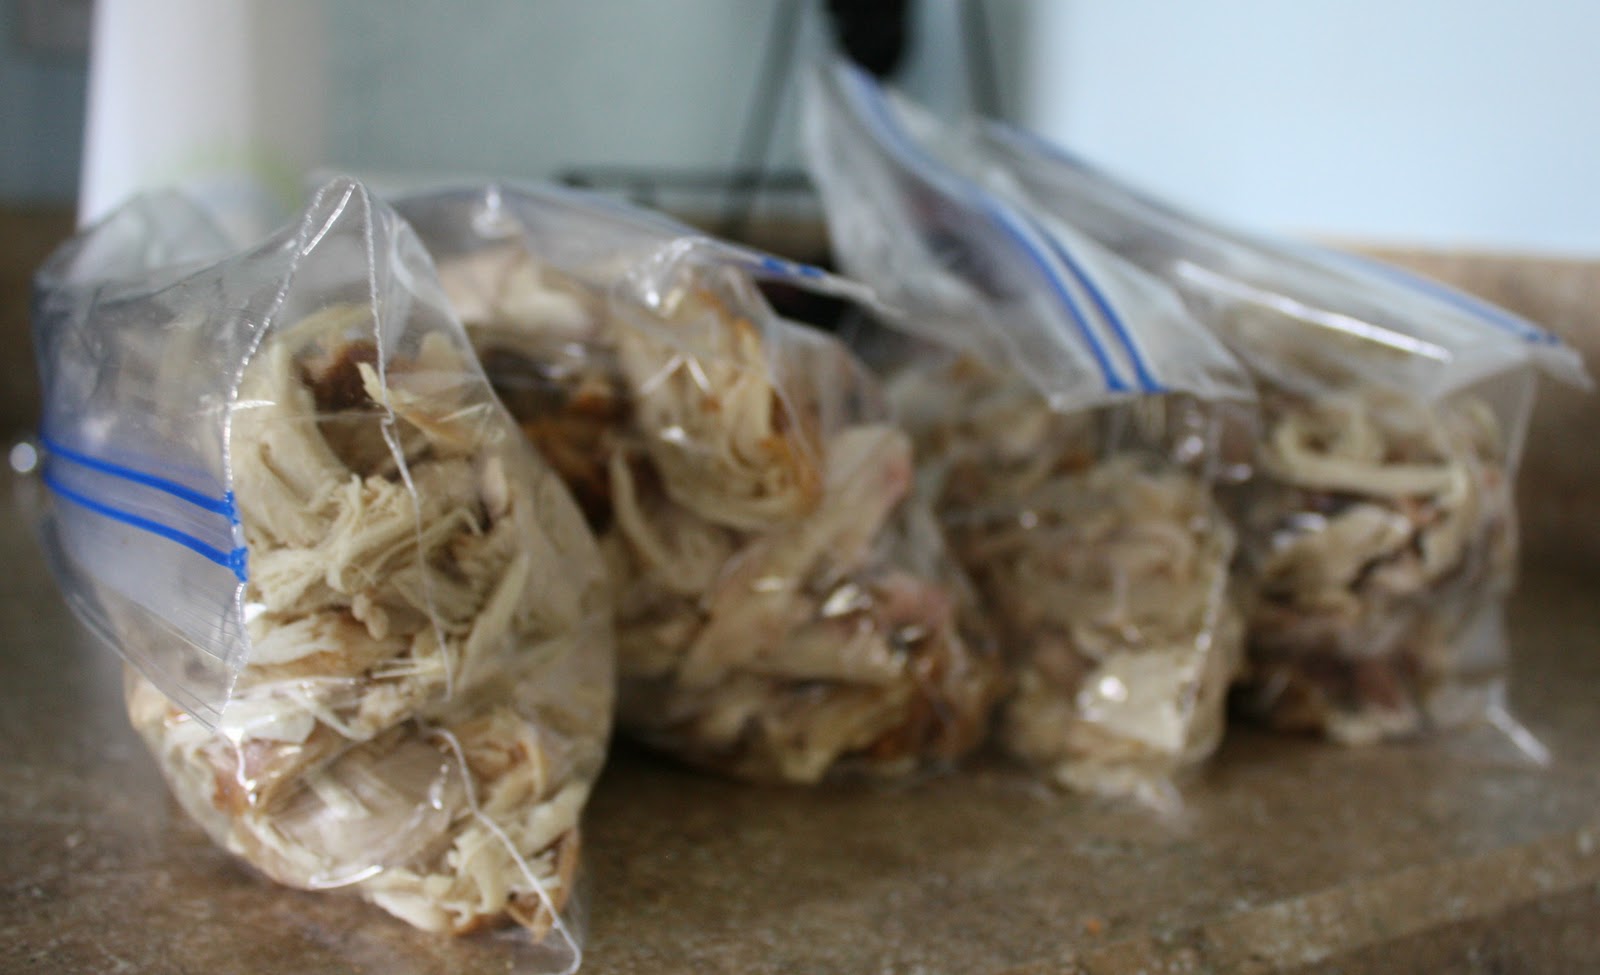
Make sure you store any leftover turkey for your next dinner :)


See you tomorrow for some Mexican!

Saturday, November 5, 2011

*Mama's Kitchen* It's a Cookie, It's a Pop, It's a Cookie Pop!

Pin It

I had to think on the fly today. Now that my eldest son is back in Tae Kwon Do we are stretched for time every other day! Today is an anniversary celebration for the school and Issac decided that we (meaning I) would make cookie pops. We made them for the first time on Monday for Halloween and frosted little pumpkin faces and I wanted to do a blog post then, but they didn't last long enough for me to get a picture.
It's so funny how adding a simple stick to a cookie can completely change it! **giggling**

Originally I used a recipe for sugar cookies, but because of the short notice we are now going to use pre-made cookie dough. Plus, I am all for shortcuts! 

So without further ado, I give you...

You will need the following:
  • Cookie Dough (I used sugar dough)
  • Pop Sticks
  • Sprinkles (optional)

First preheat your oven to 350 degrees F.

Place the balled cookie dough on a cookie sheet and put a pop stick in the center of the ball.

Softly flatten the dough ball with your hand.

Decorate as desired

Place the cookie sheet in the oven until the edges of the cookies are brown (keep in mind that even after you pull the cookies out, they will continue to bake on the sheet).

Now, this part is important because this is what keeps your cookies soft,
let it set on the sheet for about 2 minutes then transfer to a cooling rack.

Now you can hold it by the stick and your kids will love it!


His sample did not last long! :D

I will see you for a special series next week ;)...stay tuned!

God Bless <3

Wednesday, November 2, 2011

Babies Babies Everywhere

Pin It

It must be in the water! It seems like I am surrounded by people having babies, which means.......Baby Showers! What to do, what to do?

Before the birth of my baby boy I was given a great baby shower by my wonderful friends Tam and Mari (Thank you ladies!) and the most unique and memorable gift I given was a diaper cake. It was so darn C-U-T-E!


Today I will pass along the top secret I was given that is used to make these wonderful gifts (which can also serve as a decoration)....pots! I never knew it was so easy! Let's get started then add a little twist ;o)


Materials Needed:

Roll diapers then tie tightly with the balloon ribbon:

Tightly fill the pots with the rolled diapers:

Wrap and tie the balloon ribbon around the center of the diapers:


Wrap and tie the wide ribbon around the center to cover the balloon ribbon:


Depending on how many tiers you want your diaper cake to be, 
repeat with various pot sizes
-Then- 
Stack them


Now for the fun part, use your imagination depending on the theme!
Think about a cake topper and little extras to go along the sides.


Here I used a hat made my yours truly :) Little Critters
I also used origami flowers (directions for the flower can be found here)
(Theme: Brown/Pink)
 (Theme: Jungle)
(Theme: Princess)


Now, for the twist...Diaper Cupcake! 
Same idea, smaller scale. 
This would be perfect as a center piece for multiple tables 
or even "served" on a tray :)


Till next time...
God Bless <3